What is Serial Communication ?
Serial Communication is based on Serial 8bit data transfer or data transmission vice-versa Rx & Tx . Rx said to Receiver and Tx said to Transmission.
USART (Universal Synchronous Asynchronous Receiver) located in Arduino Board. It is a universal communication component (Synchronous/Asynchronous).
| FRAME: | Start | Data | Parity | Stop |
|---|---|---|---|---|
| SIZE (Bits): | 1 | 5-9 | 0-1 | 1-2 |
Rules of Serial Communication
- Data bits,
- Synchronization bits,
- Parity bits,
- and Baud rate.
Data bits
A byte is 8-bits of data. The MSB (Most-Significant-Byte) and LSB(Least-Significant-Byte) denote 8-bits. The amount of data in each packet can be set to anything from 5 to 9 bits.The standard data size is your basic 8-bit byte.which help to add 7-bit ASCII characters in Serial Chunk is to Transferring Data In ASCII table has 128 characters, with values from 0 through 127. Thus, 7 bits are sufficient to represent acharacter in ASCII , most computers typically reserve 1 byte, (8 bits) .

Synchronization bits
The synchronization bits are two or three special bits transferred with each chunk of data. They are the start bit and the stop bit(s). These bits mark the beginning and end of a packet. There’s always only one start bit, but the number of stop bits is configurable to either one or two. The start bit is always indicated by an idle data line going from 1 to 0, while the stop bit(s) will transition back to the idle state by holding the line at 1.
Parity bits
Parity is a form of very simple, low-level error checking. It comes in two flavors: odd or even. It is set to either 1 or 0 to make the total number of 1-bits either even (“even parity”) or odd (“odd parity”).
Baud Rate
The baud rate specifies how fast data is sent over a serial line. It’s usually expressed in units of bits-per-second (bps). The only requirement is that both devices operate at the same rate. One of the more common baud rates, especially for simple stuff where speed isn’t critical, is 9600 bps. Other “standard” baud are 1200, 2400, 4800, 19200, 38400, 57600, and 115200.
Serial Programming in Arduino
#define baud 9600 // 300, 1200, 2400, 4800, 9600, 19200, 38400, 57600, 115200 and more.
int val=0;
void setup()
{
// initialize the serial communications:
Serial.begin(baud);
}
//End Setup
void loop()
{
//Serial Print on Com port
Serial.print("The Integer Value : ");
Serial.println(val); // Print Display Value
delay(1000); // Time Space of one 1sec
val++; //Incriment Value
if(val==100)
{
val=0; //If it Goes to 100 set back to zero
}
}//End Loop
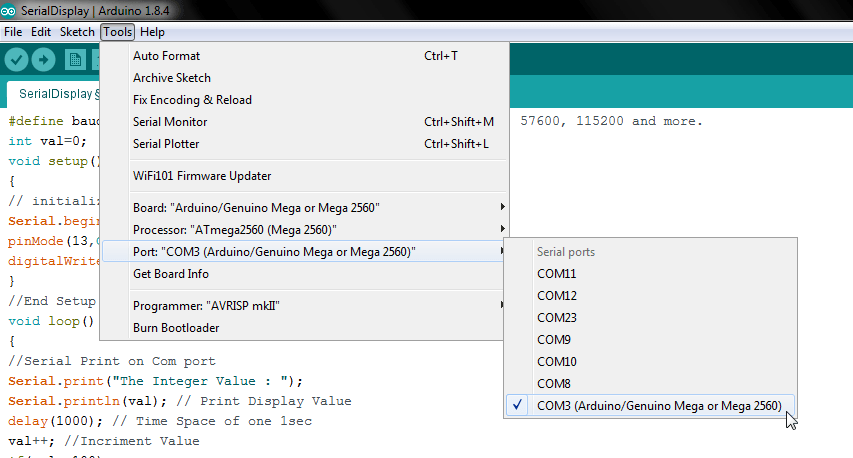
Selecting Board & Select COM PORT.
In Arduino Menu Option Tools
Board : Arduino/Genuino Uno is for (Arduino Uno), Arduino/Genuino Mega or Mega 2560 is for (Arduino Mega )
Port : COM1 , or Any Serial Ports.
After These Step :
- Uploading Code (Ctrl + U)
- Verify/Compile (Ctrl + R)

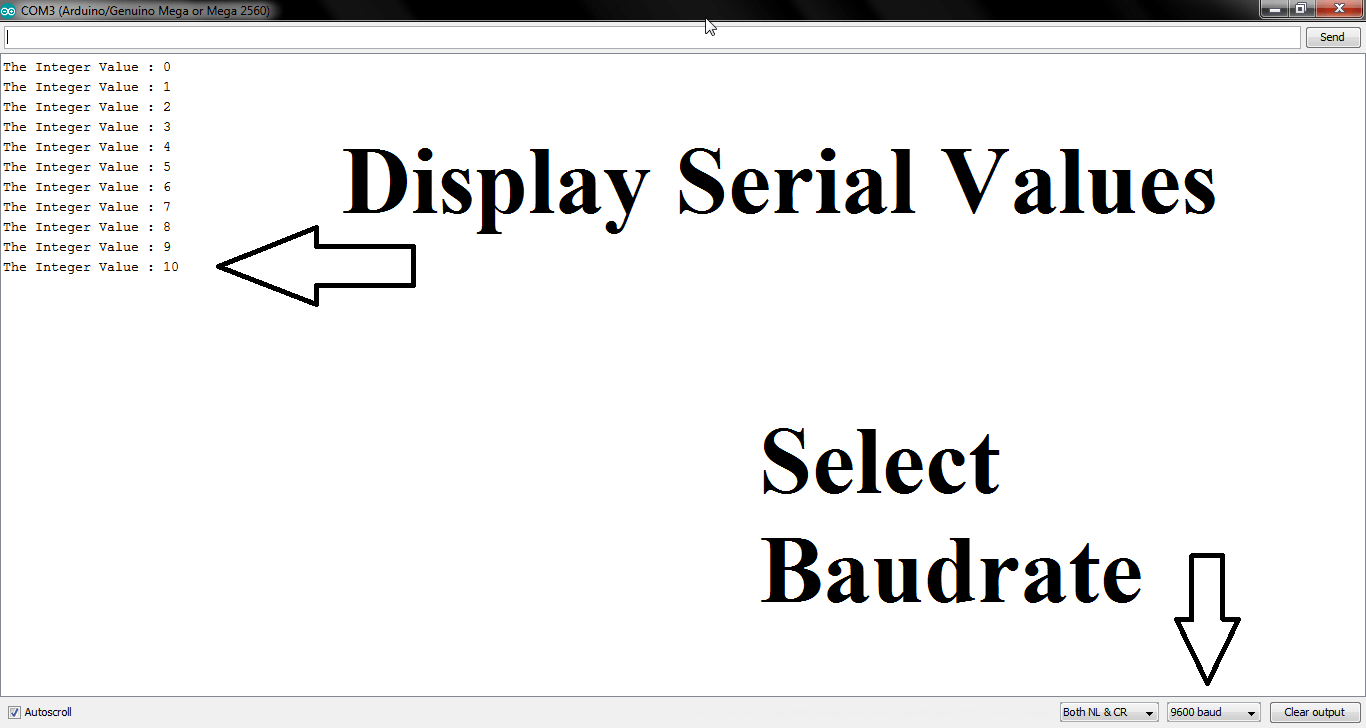
Display Serial Message In Serial Monitor.
Correct COM Port Select And Set Baud Rate According To Program.
HOW TO PRINT OR SEND MESSAGE
Serial.write()
Writes binary data to the serial port.
Serial.write(value); //send as a single byte
Serial.write(string); //send as a series of bytes
Serial.write(ArrayBuff, length);
//array to send as a series of bytes
//length of the buffer
Serial.print() Or Serial.println();
Prints data to the serial port as human-readable ASCII text.
DEC Decimal , HEX Hexadecimal , BIN Binary , OCT Octanal.
- Serial.print(57, DEC) gives “57”
- Serial.print(57, HEX) gives “39”
- Serial.print(57, BIN) gives “111001 “
- Serial.print(57, OCT) gives “71”
- Serial.println(5.99216, 0) gives “5”
- Serial.println(9.356, 2) gives “9.35”
- Serial.println(10.295306, 4) gives “10.2953”
Which is Best Serial.print or Serial.println ?
Serial.print
Its Gives you ASCII Inline Message in continues Form
Example
void setup()
{
Serial.begin(9600);
}
void loop()
{
Serial.print("Hello World");
}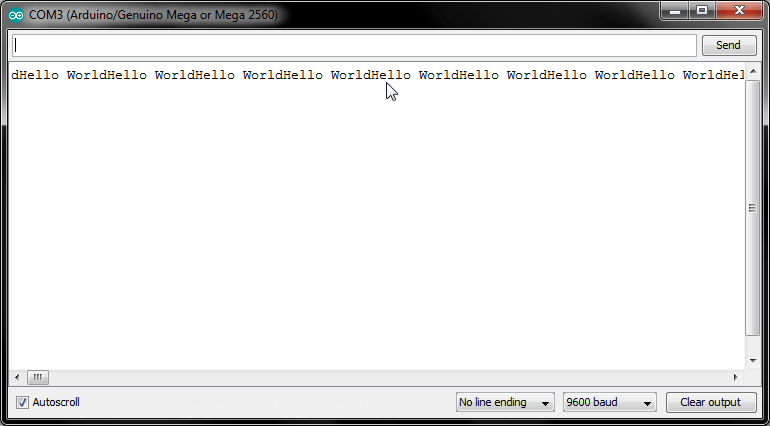
Until you can disconnected Port
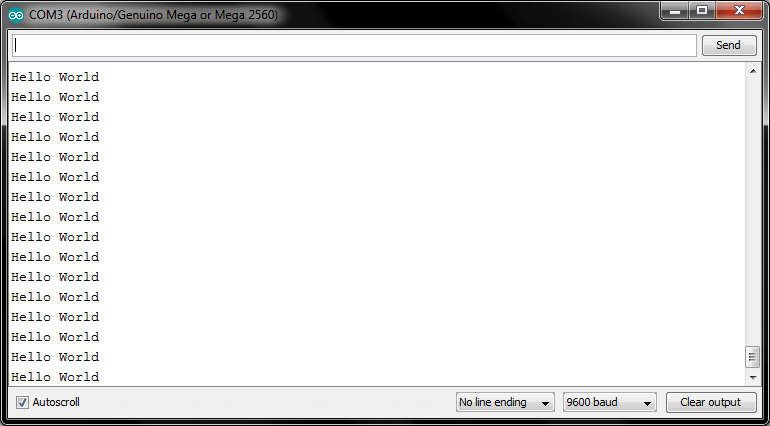
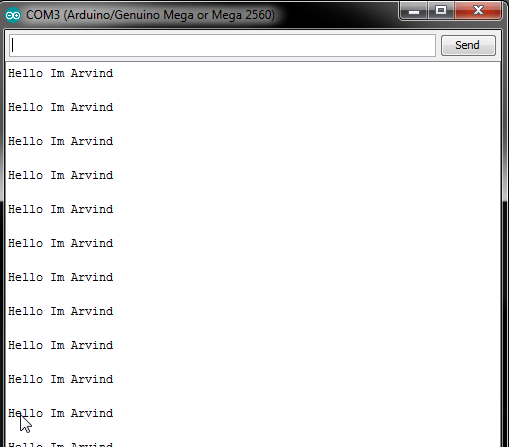
Serial.println
void setup()
{
Serial.begin(9600);
}
void loop()
{
Serial.println("Hello World");
}
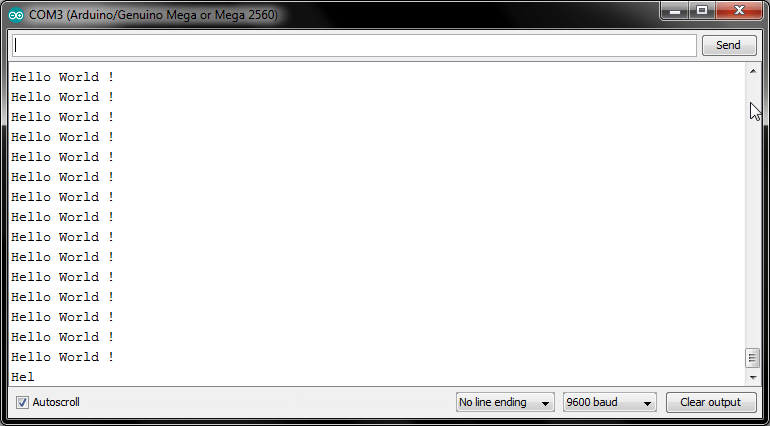
Combine Form print & println
In this form you Concate with Variables or print Variables.
void setup()
{
Serial.begin(9600);
}
void loop()
{
Serial.print("Hello");
Serial.println(" World !");
}
HOW TO READ MESSAGE
Read Message Means Arduino Read External Source Like Two Arduino Communication, GPS Location its is based on Serial,FingerPrint Sensor it Also based on Serial .
Tips
- Set Serial begin (baudrate)
- Baud Rate Must be Same.
- Serial available must be added.
- Always Ground Connection must be Common.( if two devices are connected.)
What Do To When Read
if(Serial.available()>0)
{
  //code
}
this code help if serial data is incoming then what kind or manipulation or what do with data is received.
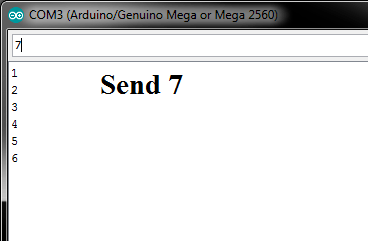
1.If Requirement is limited (0,9)
I have Serial 10 Integer Value Read (0-9) Example i have 10 LED which control by bluetooth Mobile For Testing im used Pc . This code help up to read 10 values (0,1,2,3,….9).
if im try 10 number its display 1 and 0 is different values .
#define baud 9600 // 300, 1200, 2400, 4800, 9600, 19200, 38400, 57600, 115200 and more.
int val=0;
void setup()
{
// initialize the serial communications:
Serial.begin(baud);
}
//End Setup
void loop()
{
//Serial Print on Com port
if(Serial.available()>0)
{
  val=0;
  while(Serial.available()>0)
  {
    val = Serial.read()-'0';
  }
  Serial.println(val);
}
}//End Loop

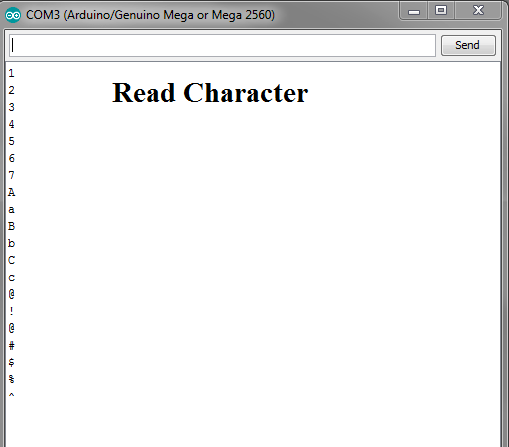
2.If values read more then 10 or any Alpha-Numeric Character
if Yours program read or matching if this character came i will allow to active this or this Character came i will do this.
In this program allow read any character Just set Read Variable To char. but in It read only Single 8bit Word.
Like ASCII (A,a,B,b,C,c,@,#,$,%,^,&,1,2,…0) Not read 10,20,30 it assume it 1 0 , 2 0,3 0.
#define baud 9600 // 300, 1200, 2400, 4800, 9600, 19200, 38400, 57600, 115200 and more.
char val;
void setup()
{
// initialize the serial communications:
Serial.begin(baud);
}
//End Setup
void loop()
{
//Serial Print on Com port
if(Serial.available()>0)
{
  val="";
  while(Serial.available()>0)
  {
    val = Serial.read();
  }
  Serial.println(val);
}
}//End Loop
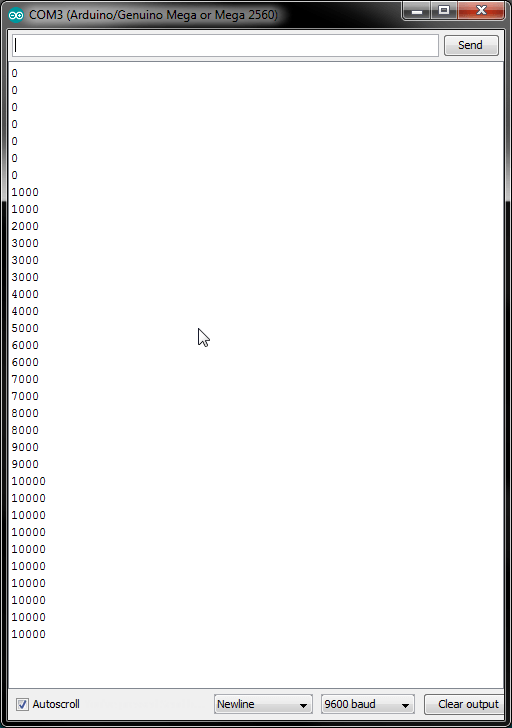
3.Read Integer Value.
#define baud 9600 // 300, 1200, 2400, 4800, 9600, 19200, 38400, 57600, 115200 and more.
int val;
void setup()
{
// initialize the serial communications:
Serial.begin(baud);
}
//End Setup
void loop()
{
//Serial Print on Com port

if(Serial.available()>0)
{
  val=readByte();
}
Serial.println(val);
delay(1000);
}//End Loop

//This Function Help to read Integer Value.
int readByte()
{
  while (!Serial.available()) delay(10);
  int reading = 0;
  int incomingByte = Serial.read();
  while (incomingByte != '\n')
  {
    if (incomingByte >= '0' && incomingByte <= '9')
      reading = reading * 10 + (incomingByte - '0');
    else;
    incomingByte = Serial.read();
  }
  Serial.flush();
  return reading;
}
3.Reading String.
#define baud 9600 // 300, 1200, 2400, 4800, 9600, 19200, 38400, 57600, 115200 and more.
String val;
void setup()
{
// initialize the serial communications:
Serial.begin(baud);
}
//End Setup
void loop()
{
//Serial Print on Com port

if(Serial.available()>0)
{
  val=Serial.readString();
}
Serial.println(val);
delay(1000);
}//End Loop
If there Any Other Method You Known Keep write in Comment Section Below

I enjoy the report