What is Raspberry Pi ?
A Raspberry Pi is a credit card-sized computer originally designed for education, inspired by the 1981 BBC Micro.Raspberry Pi is an inexpensive computer that can lend itself to many light & medium-duty tasks.Raspberry Pi 3 Model B+ is the latest product by Raspberry.org its having Broadcom BCM2837B0, Cortex-A53 (ARMv8) 64-bit SoC @ 1.4GHz with 1gb Ram.
Where it use?
The Raspberry Pi strives to provide a simple platform for (primarily) kids to try learning programming in the same way we did in the 80s as kids… by playing around. By having as little complexity (and cost!) acting as a barrier to entry, it is hoped that a new generation of programmers that learned as kids, and speak code as fluently as they do their primary language, might emerge.
The Creator Eben Upton’s goal was to create a low-cost device that would improve programming skills and hardware understanding at the pre-university level or School Level. But thanks to its small size and accessible price, it was quickly adopted by tinkerers, makers, and electronics enthusiasts for projects that require more than a basic microcontroller (such as Arduino devices).
The Raspberry Pi is slower than a modern laptop or desktop but is still a complete Linux computer and can provide all the expected abilities that implies, at a low-power consumption level.
Specification of Raspberry Pi 3 Model B+
- Broadcom BCM2837B0, Cortex-A53 (ARMv8) 64-bit SoC @ 1.4GHz
- 1GB LPDDR2 SDRAM
- 2.4GHz and 5GHz IEEE 802.11.b/g/n/ac wireless LAN, Bluetooth 4.2, BLE
- Gigabit Ethernet over USB 2.0 (maximum throughput 300 Mbps)
- Extended 40-pin GPIO header
- Full-size HDMI
- 4 USB 2.0 ports
- CSI camera port for connecting a Raspberry Pi camera
- DSI display port for connecting a Raspberry Pi touchscreen display
- 4-pole stereo output and composite video port
- Micro SD port for loading your operating system and storing data
- 5V/2.5A DC power input
- Power-over-Ethernet (PoE) support (requires separate PoE HAT)
How Start Raspberry pi?
Hardware Requirement
- Raspberry Pi B+. Kit Only Board
- Memory Card above 8 Gb and Class 10 (UHS-1 Good,UHS-2 Better,UHS-3 Best)
- Sd Card Adapter / Memory Card Reader.
- Power Adapter 5v , 2.5Amp Link
- LCD or Led Screen VGA or HDMI
if(VGA) HDMI Converter Required else HDMI Cable is necessary - USB Keyboard & Mouse.
- Laptop ,Desktop Any.
Software Requirement
- Noobs OS,or Raspbian
- 7-Zip Link
- SD Card Formatter Link
- Win32 Disk Imager Link
- Putty Link
- Advanced IP Scanner Link
Beginners should start with the NOOBS (New Out Of Box Software) operating system installation manager, which gives the user a choice of operating system from the standard distributions.
Some of SD cards with NOOBS pre-installed should be available from any of our global distributors and resellers.
Alternatively, you can download NOOBS.Raspbian is the recommended operating system for normal use on a Raspberry Pi.Find help with installing Raspbian on your Pi in our online Getting started guide.You can browse basic examples to help you get started with some of the software available in Raspbian, find more detail about the Raspbian operating system, or read information on fundamental Linux usage and commands for navigating the Raspberry Pi and managing its file system and users.
Two Methods To Install Os in Raspberry
Methods 1 :
In Method 1 you have required keyboard,mouse,LCD Screen,sdcard , Laptop or desktop . If you Don’t Have go To Method 2.
- Download NOOBS_Version.zip
- Plug Sd into Desktop , laptop .
- Format with SD Card Formatter.
- After 7zip required So install first if not have.
- open NOOBS_Version.zip with 7zip then Extract to Sd Card Drive Like L:/
- After open Sd Card make Sure all Files Outside. not in Noobs folder .
- Now Ready to insert sd card into the raspberry pi. please keep slowly insert so card or slot not broken .
- Then keep Together LCD,KeyBoard ,Mouse,HDMI Cable,power Cables.
- Plug Cables. make Sure Raspberry pi place at non-conductive Sheet or use case.before power it.
- when all cables at tight and good then power on.
- Then pic Showing below. if at Right side Yellow Lighting Show . Its Means Raspberry pi Adapter is less then 2.5 Amps Correct it by change adapter.
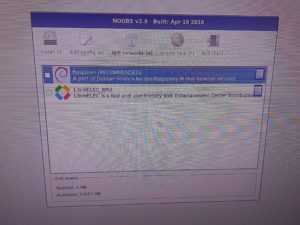
- Then Tick “Raspbian [RECOMMENDED]”.
- Above left “Install(i)” is blink/glow up.Click Install button.
- After the One Warning Showing .So yes
- Now its Starting Installing.
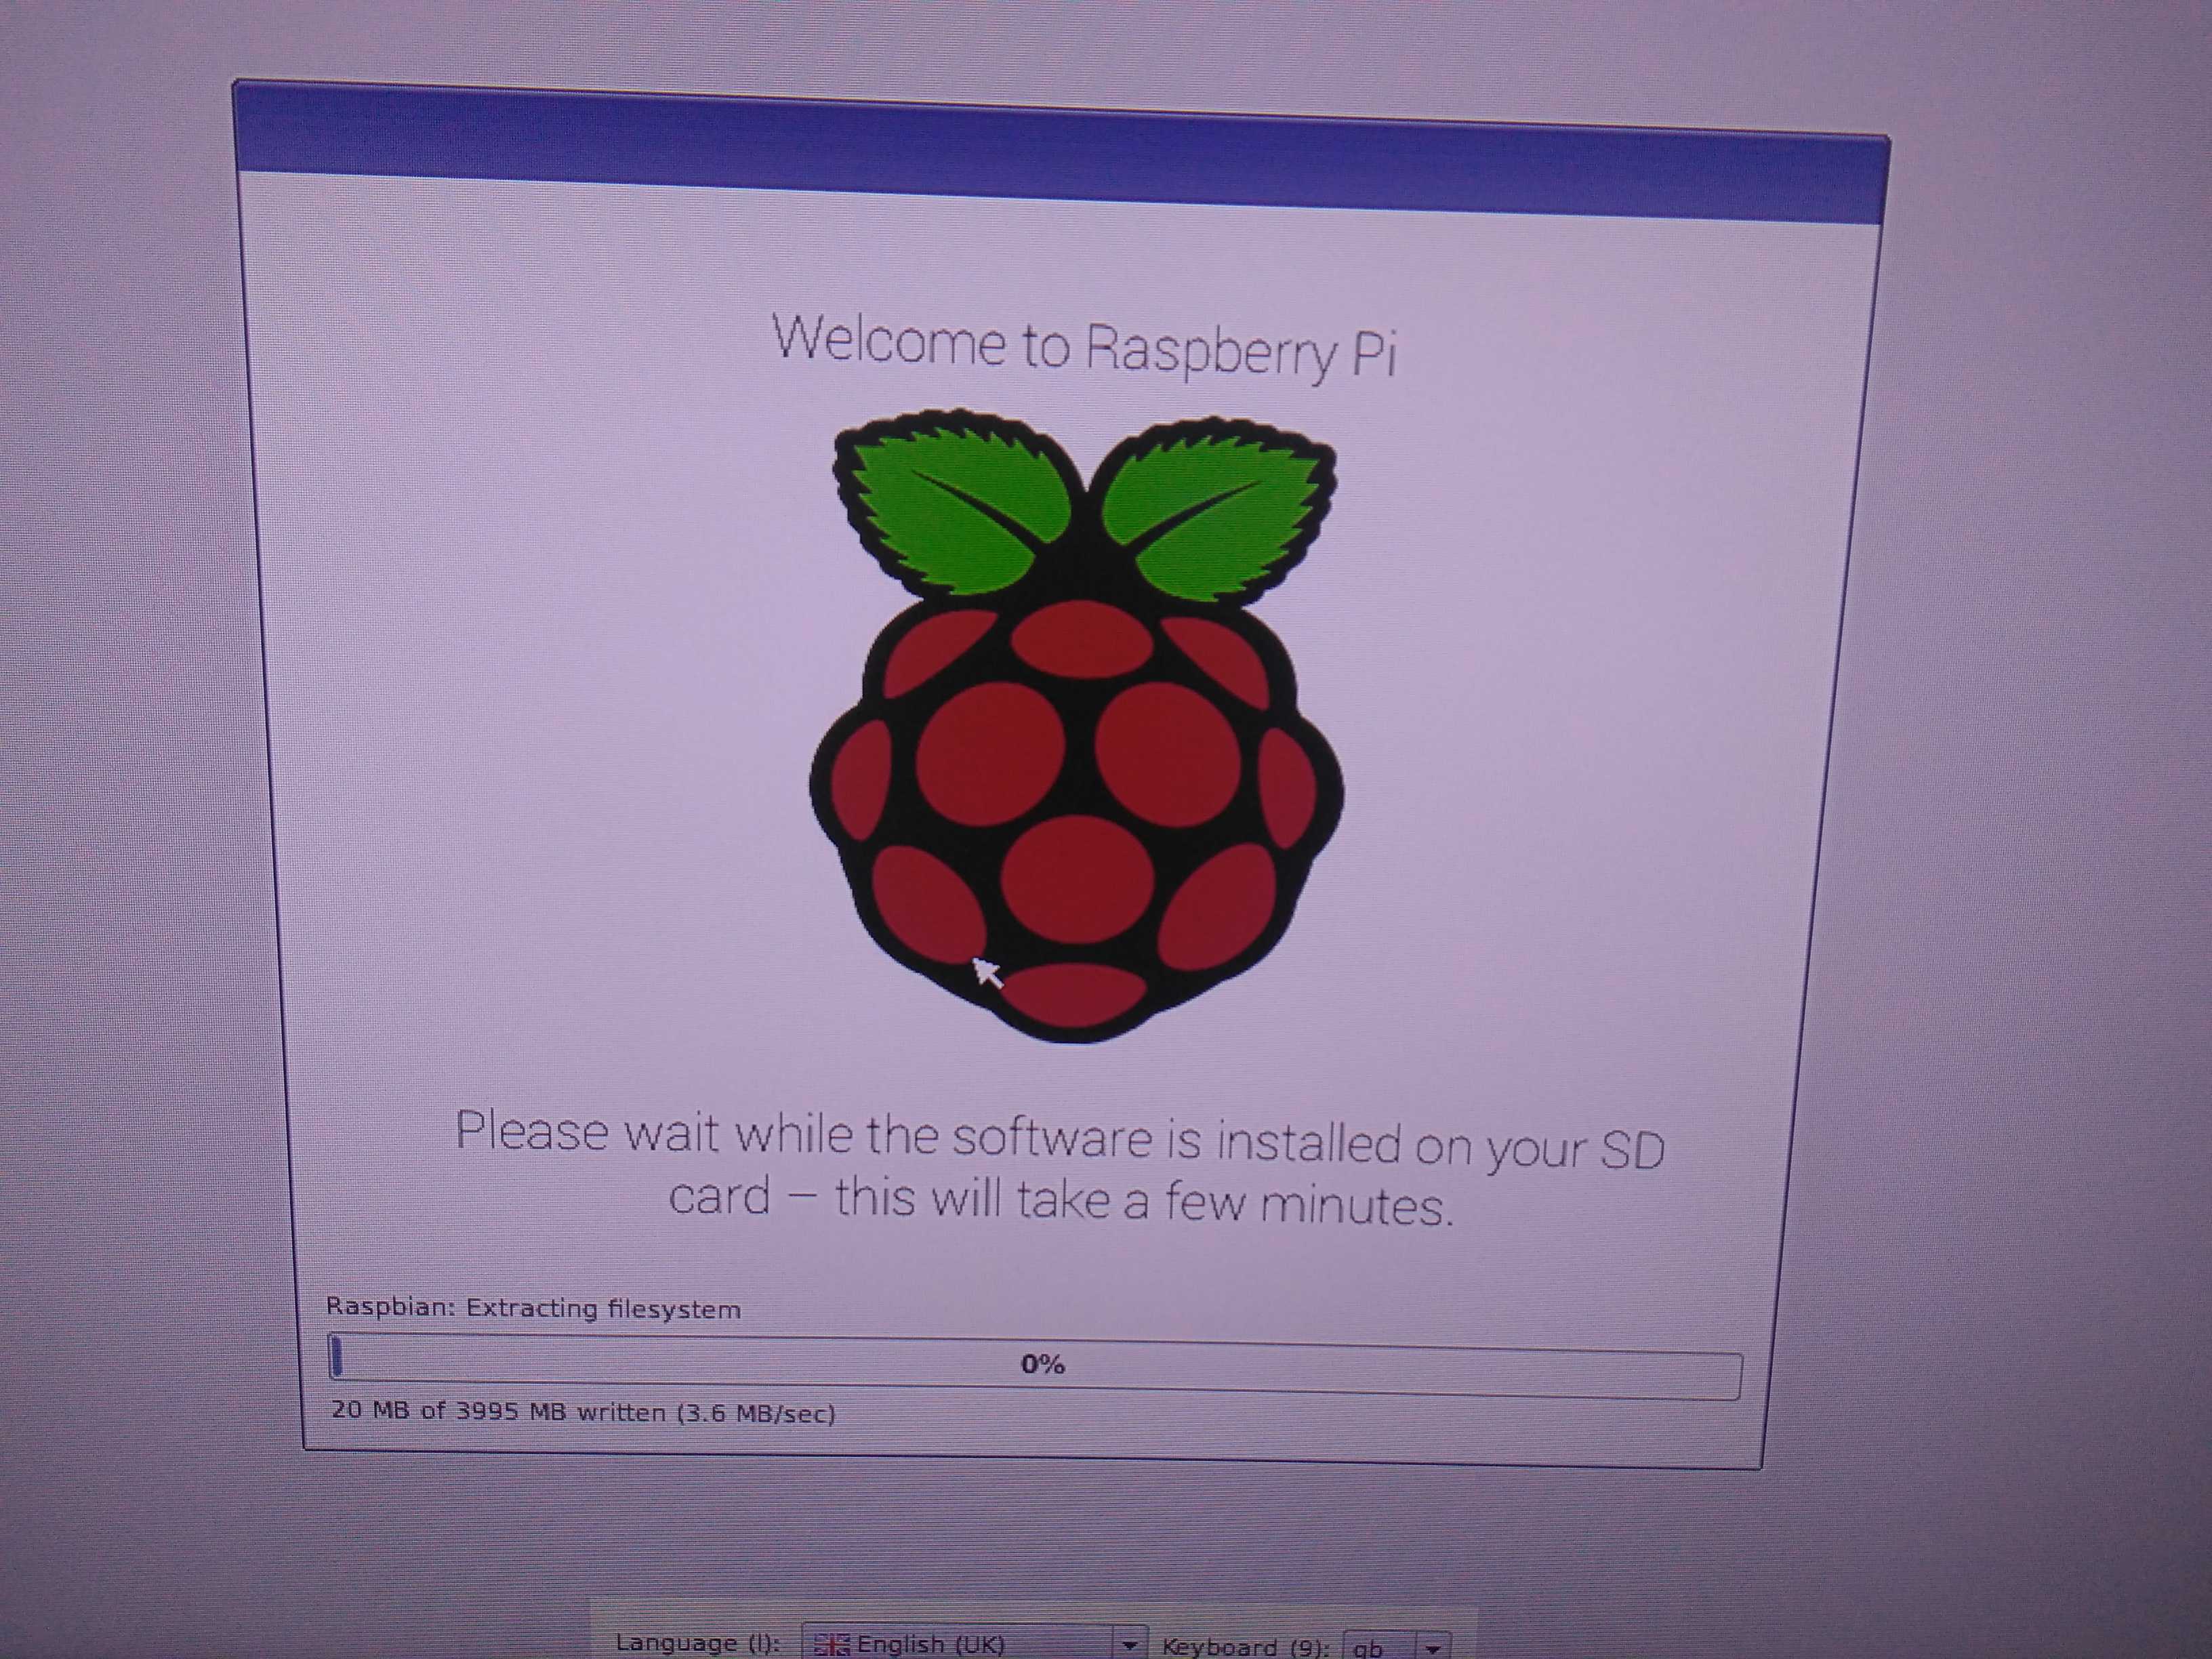
16.Wait upto 10-15min after complete Successfully Install Click on Ok.
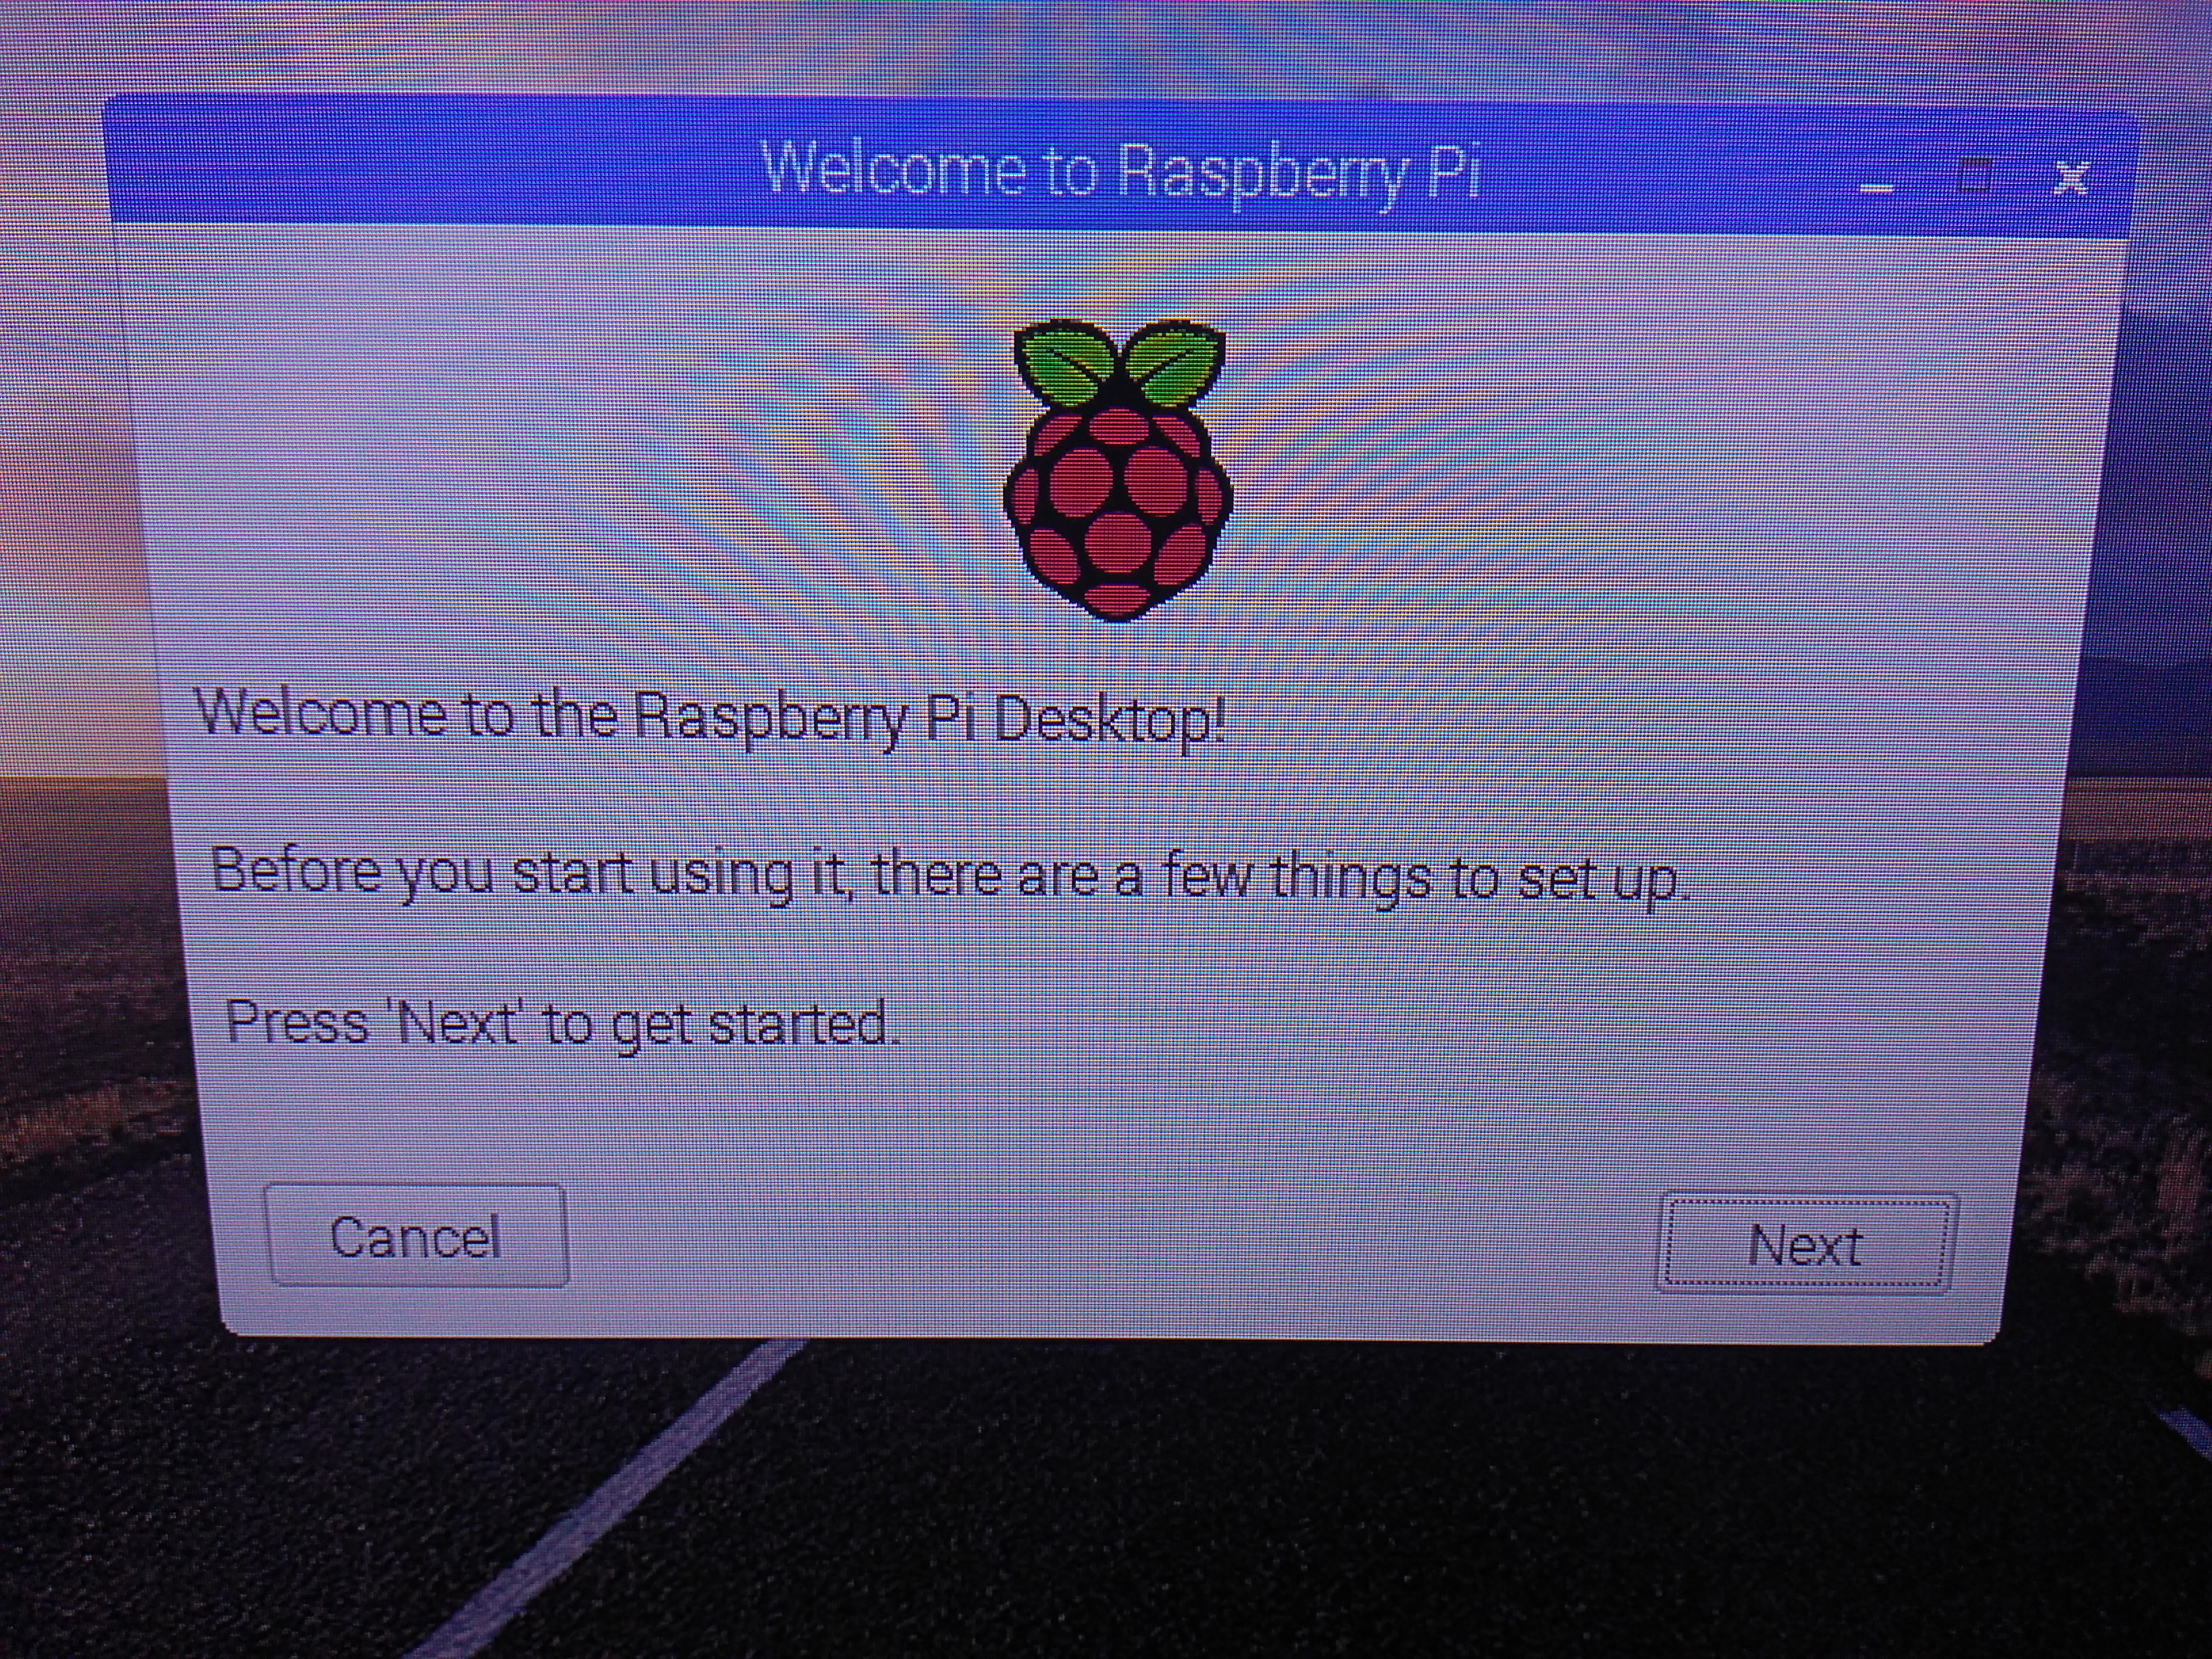
17. After Complete Welcome to Raspberry Pi is Showing.
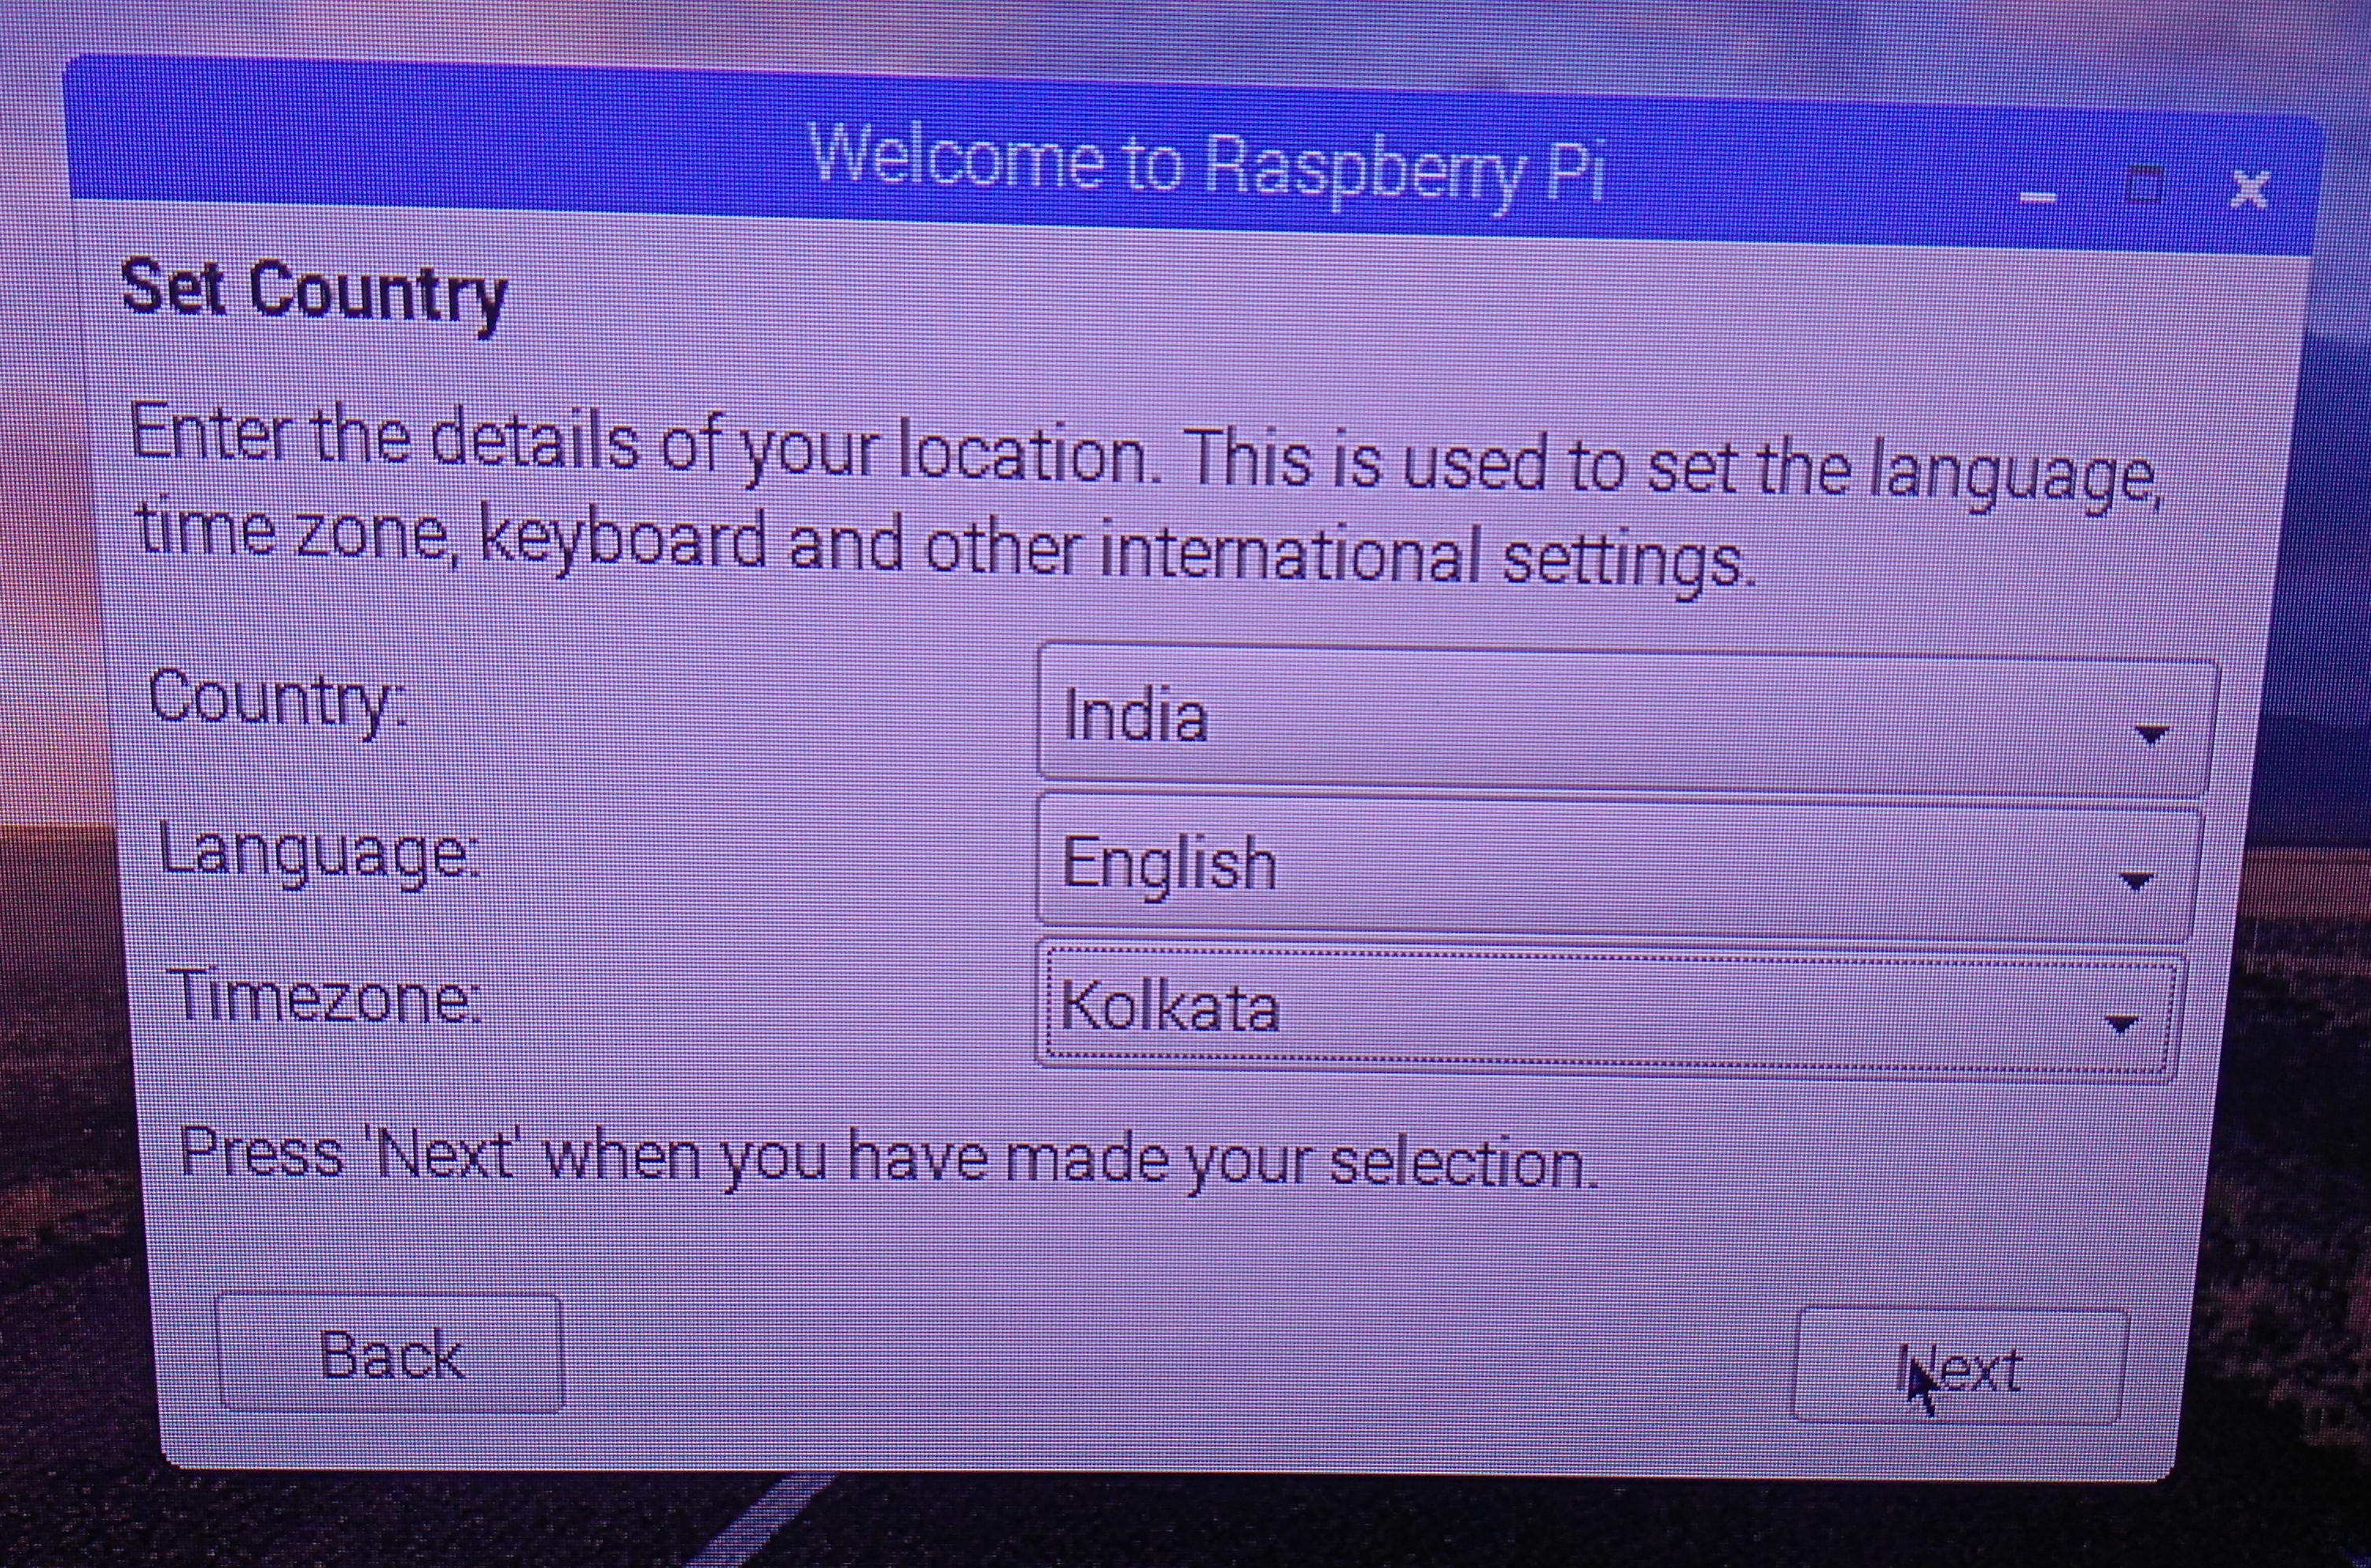
18. Now Set Country , Language, Timezone
19.Change password. if blank next it.by default “raspberry” is password and by default user is “pi”.

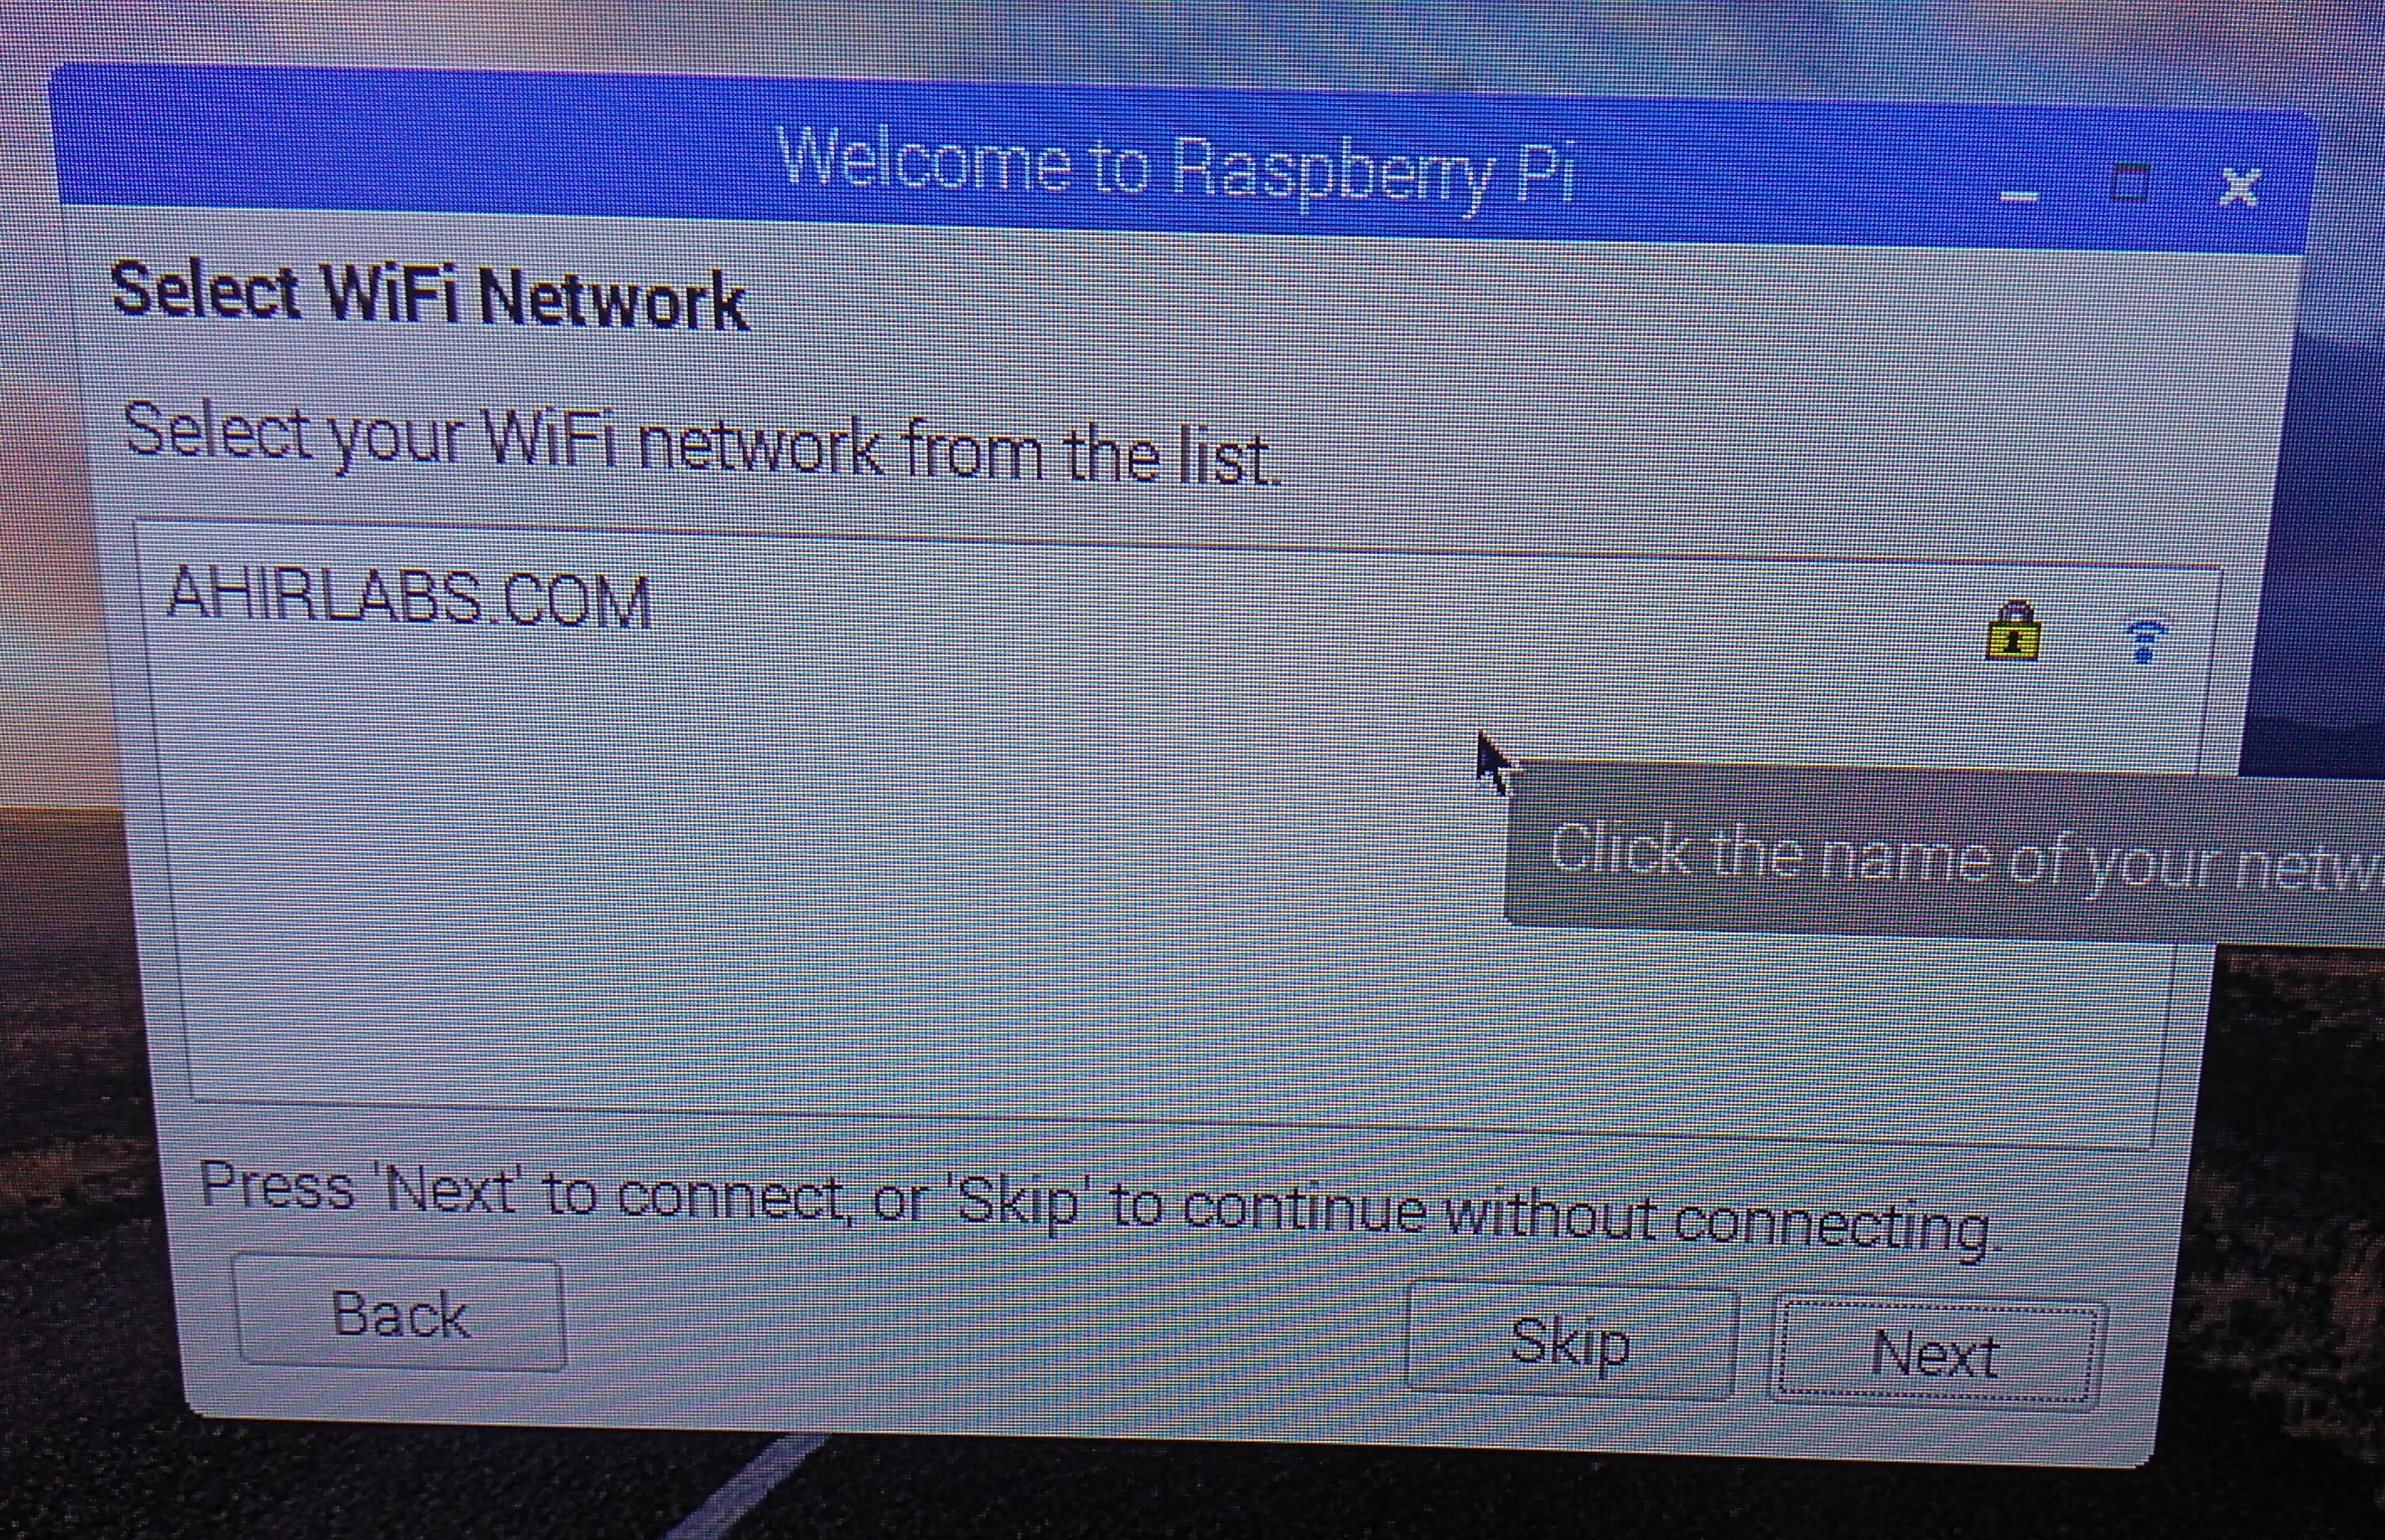
20.Select Wifi Network for Updating Raspberry Os. if Required connect its.else skip it.
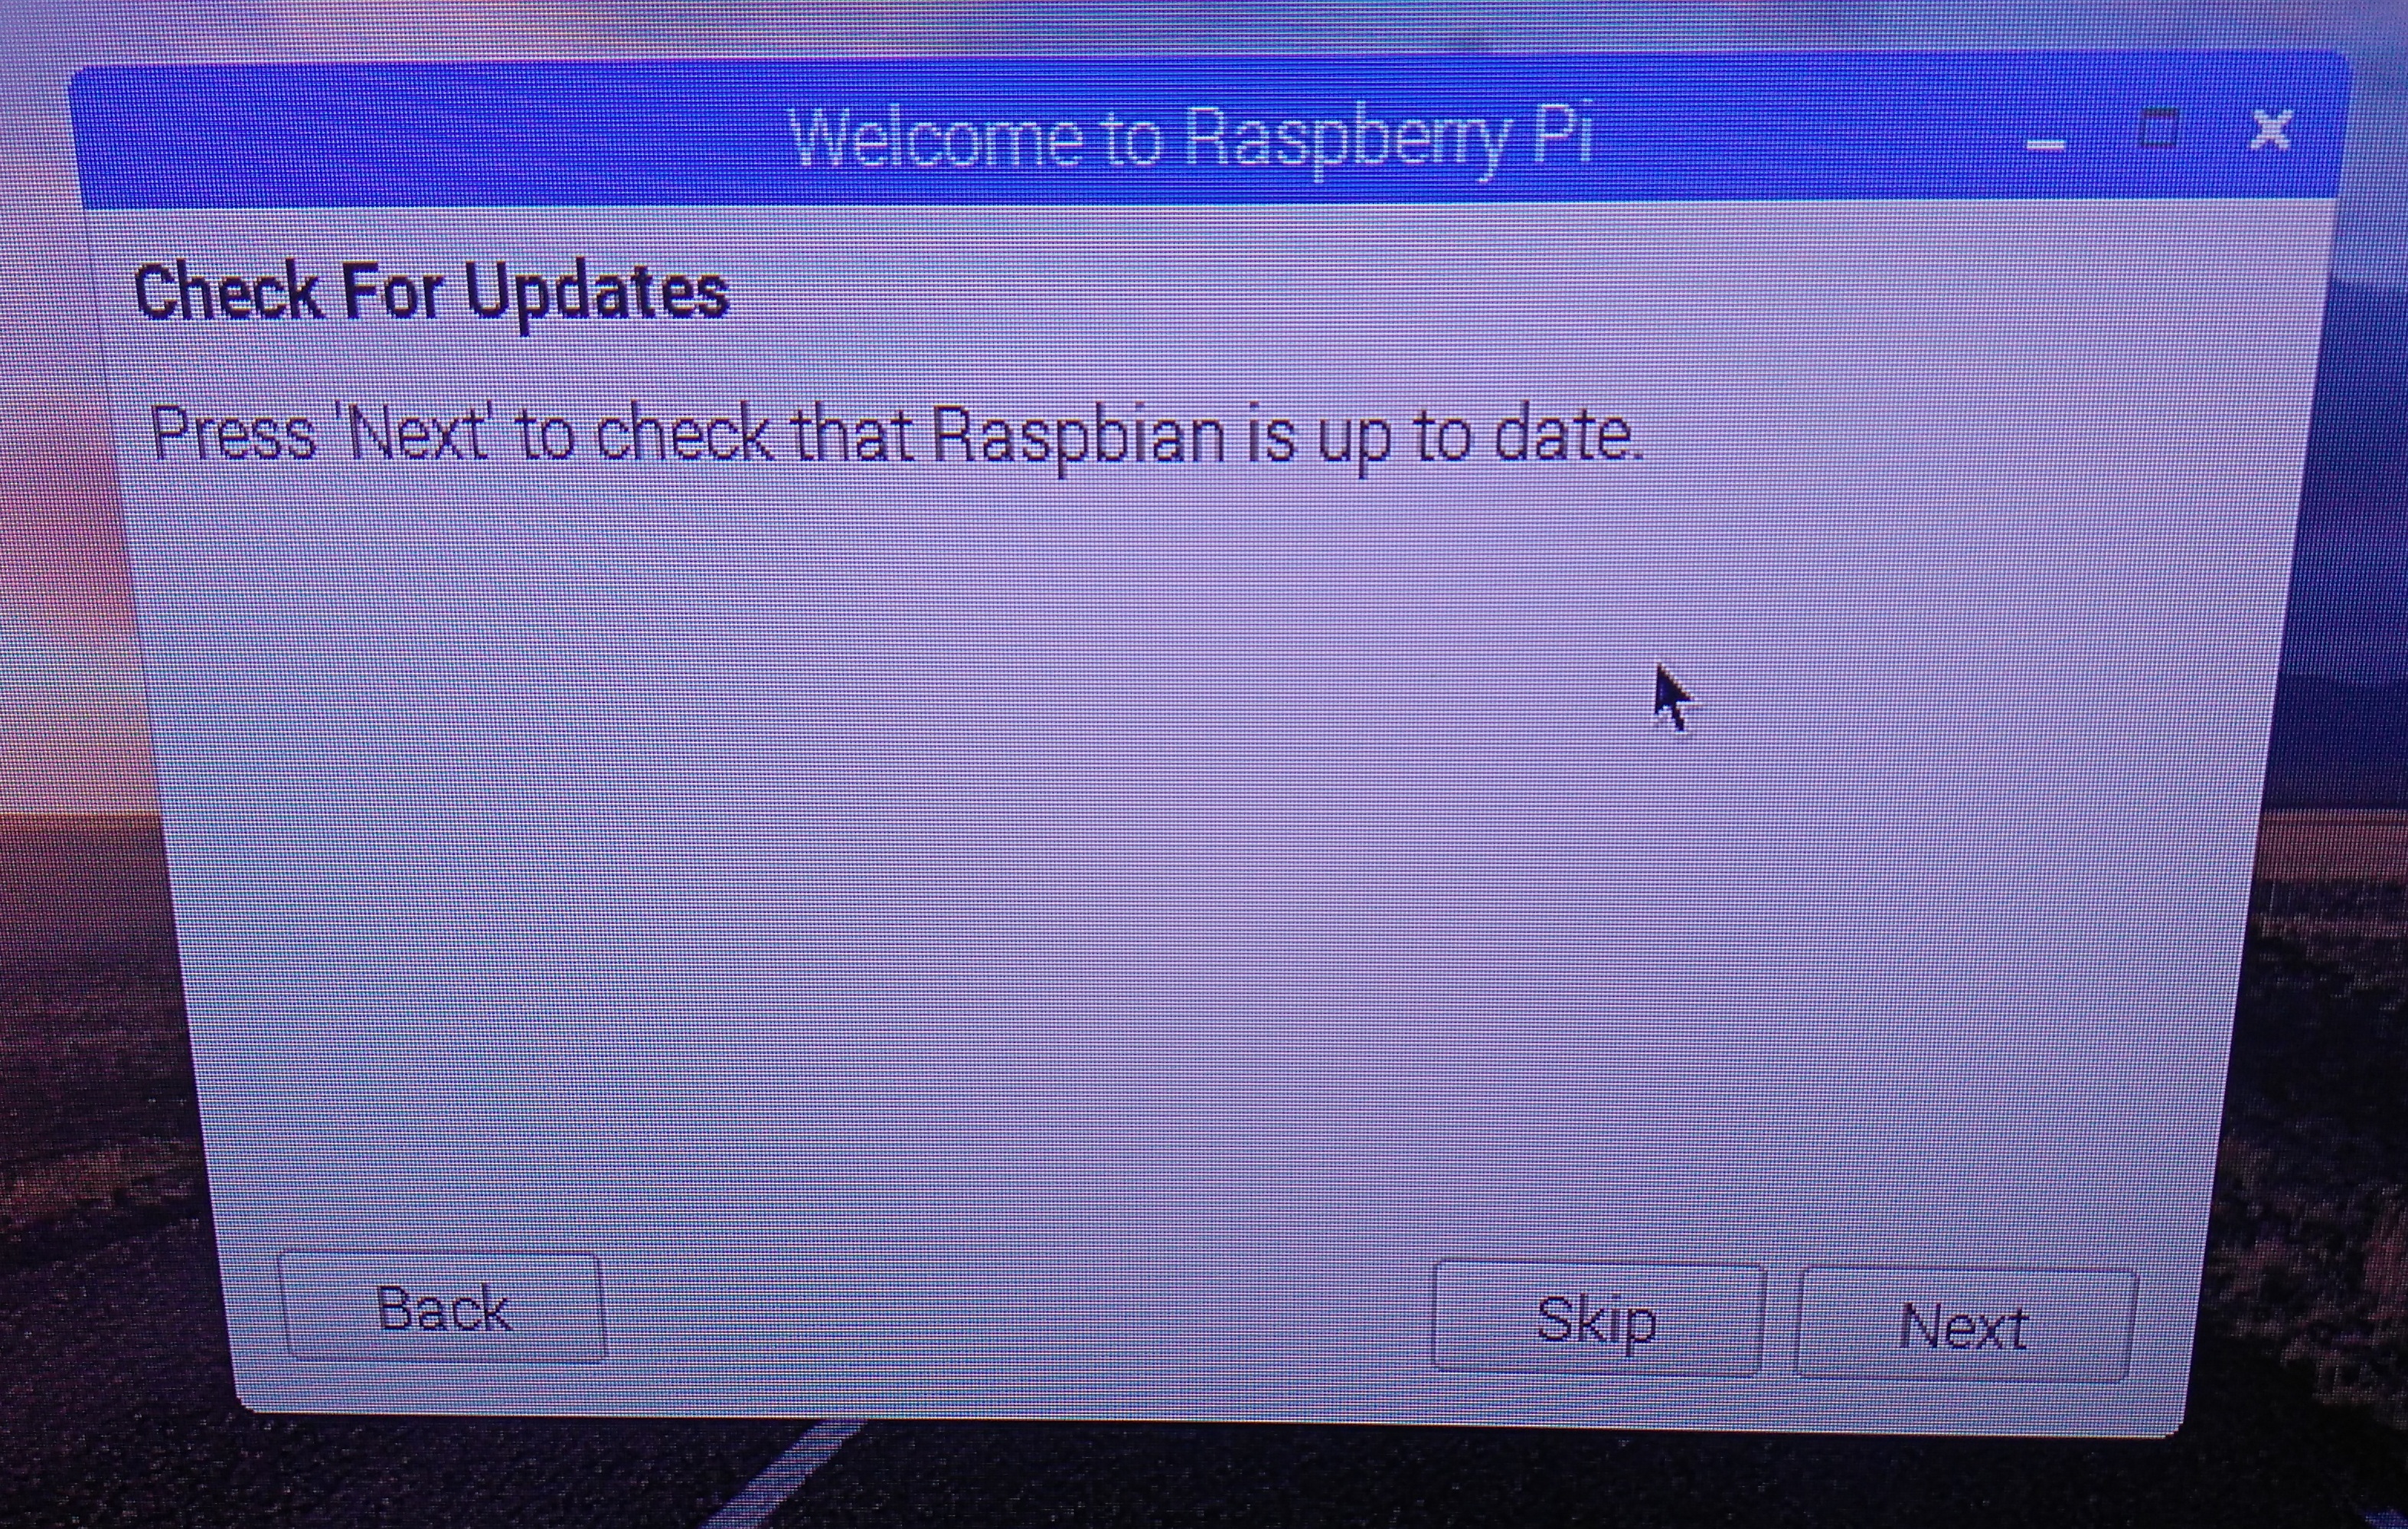
21.Update option. skip or next to update.
22. Reboot Option
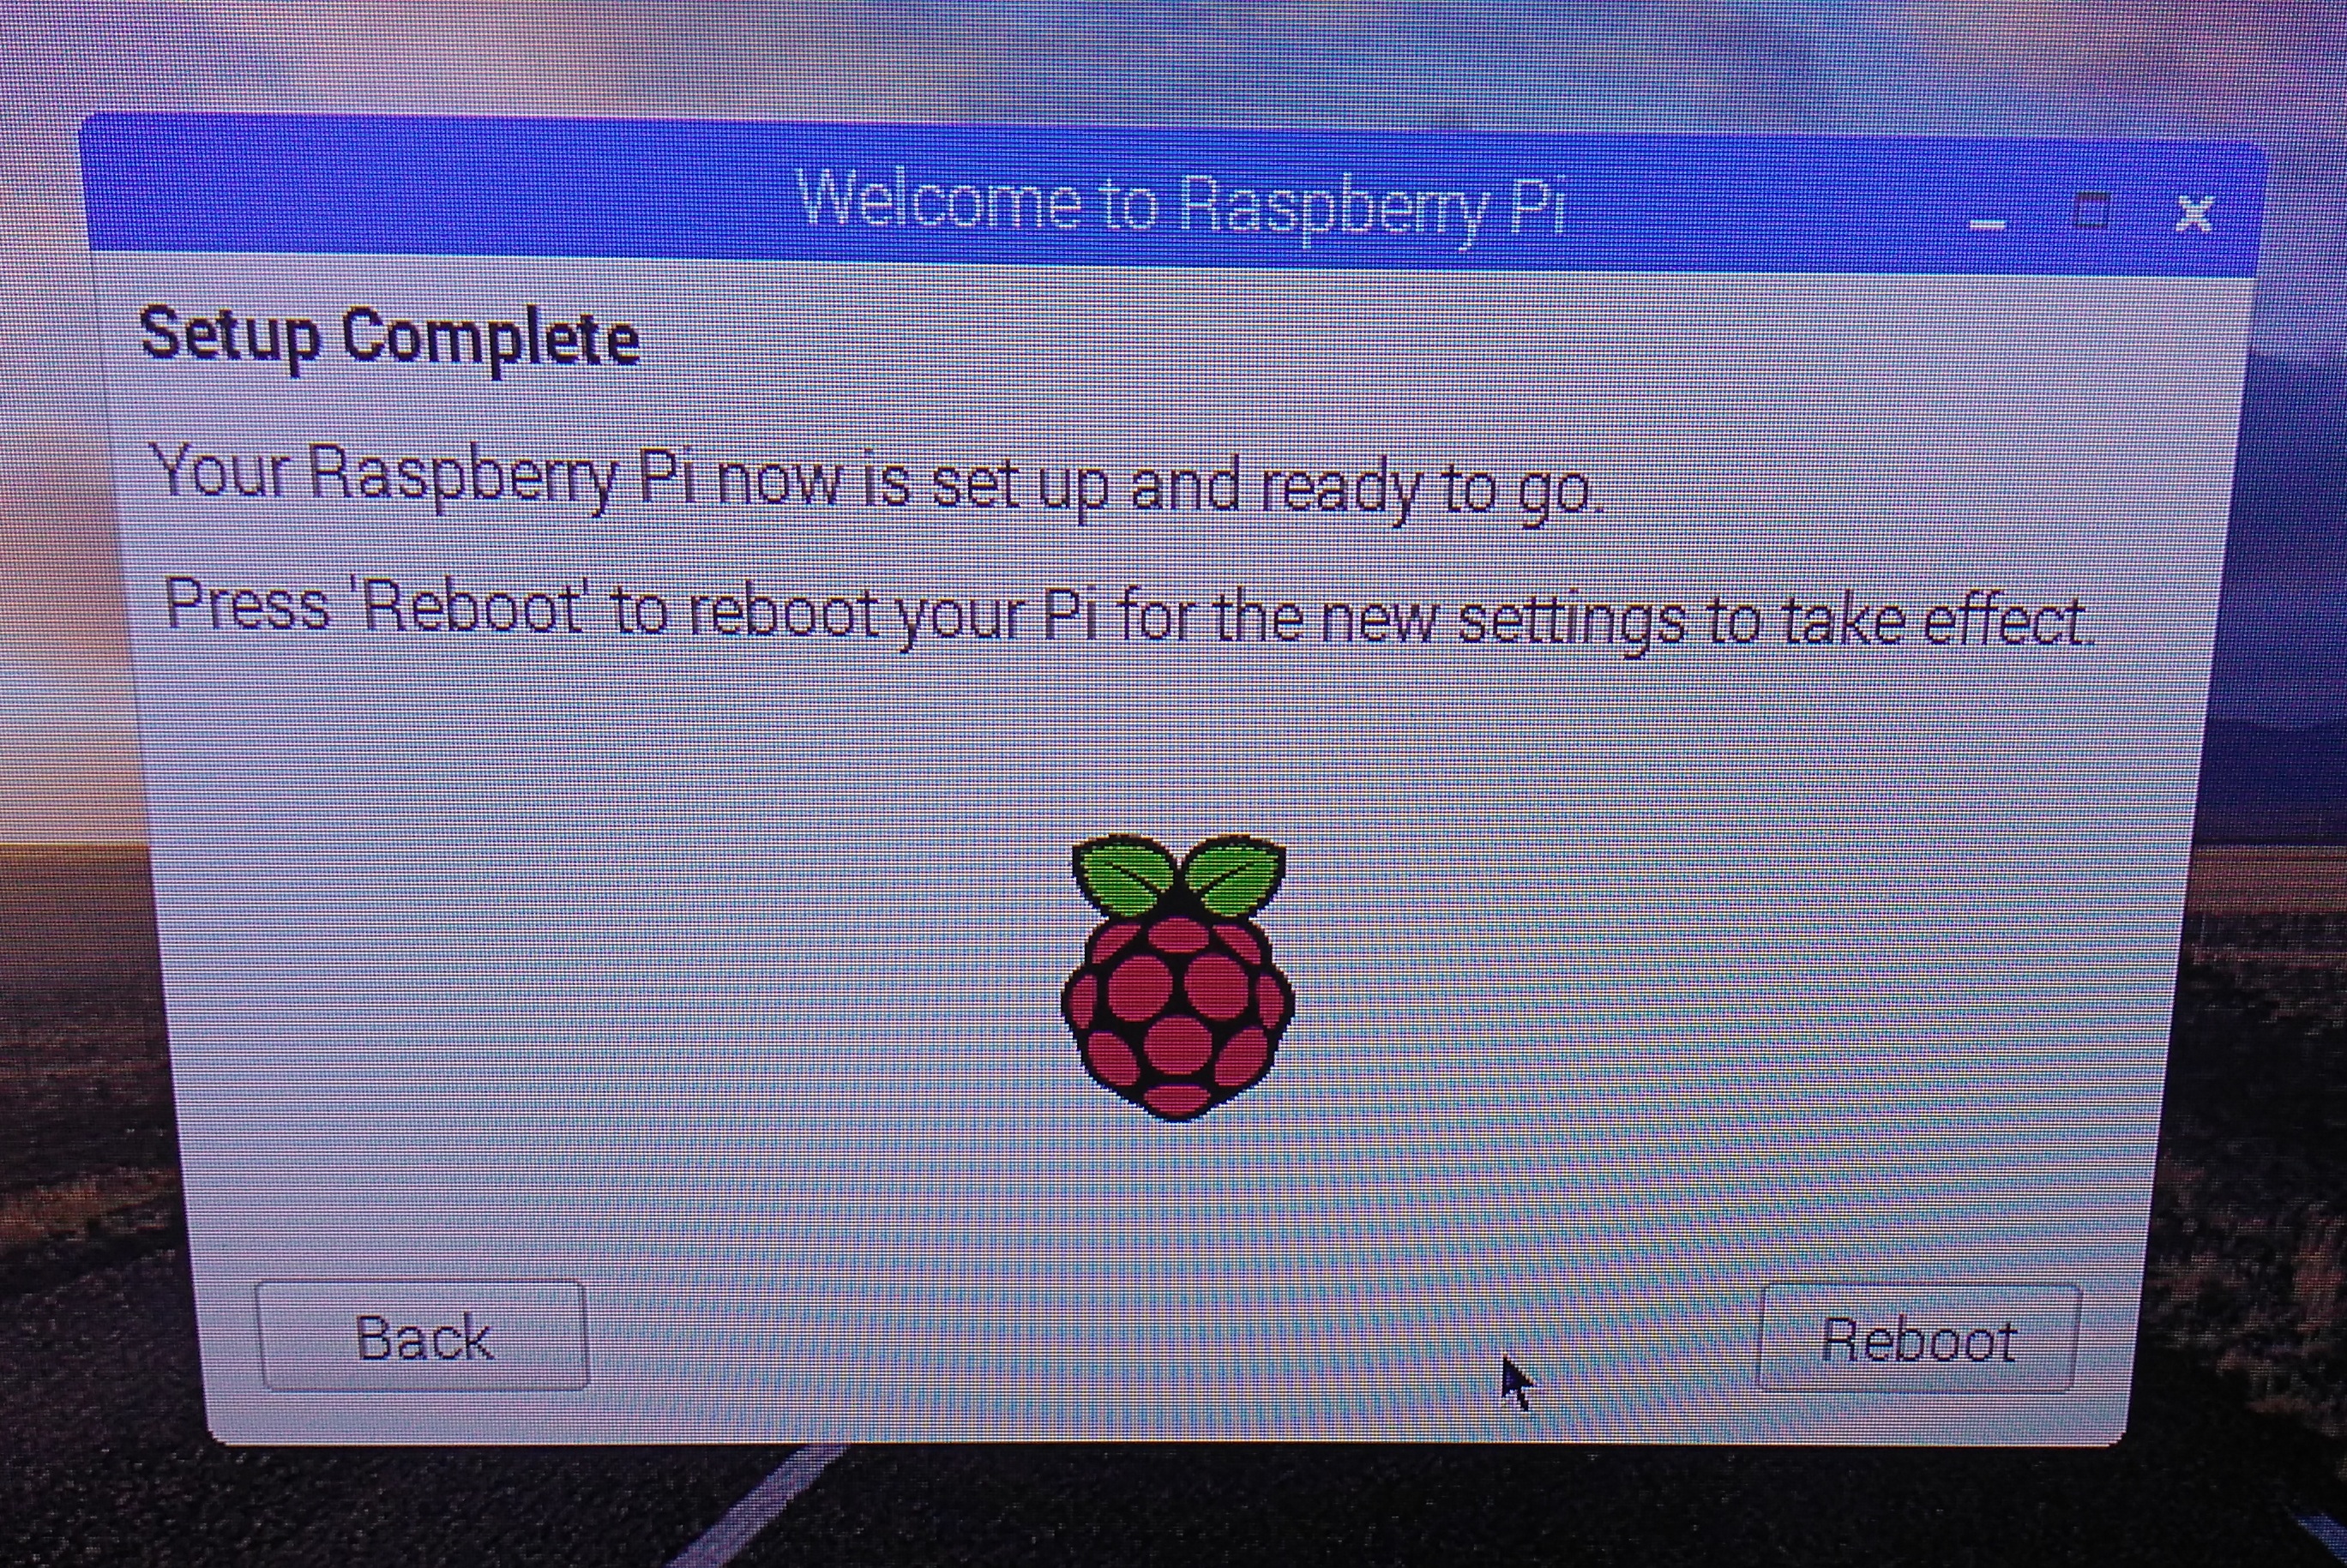
23. Now its completely install.
Methods 2 :
In this method you not need lcd,keyboard,mouse. in this case you not use noobs selecting os.so we install standalone raspbian os.
- Required Raspbian os Download zip.
- Then Extract with 7zip. on same folder. raspbian_version.img you can’t directly extract files to sd. so remember file Path
- Then Format the SD card with SD Card Formatter.
- Open Win32DiskImager it Allow to extract “raspbian_version.img” to SD card Drive Make Sure you Select Right Drive.
- After Selecting Drive below is two option Read/Write click on Write button. After Few Min, Its is completely write on SD card.
- open Sd card , add new “New Text Document.txt” rename it “ssh” without any extension.
- Plug Networking Wire with the Router,plug the 5V-2.5Amp Power Cable.
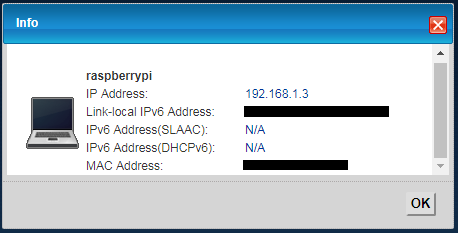
- Required ip Address of Raspberry , check From Router or use
Advanced IP Scanner.
9. Wait Few Movement 5,10 min. Then Open Putty
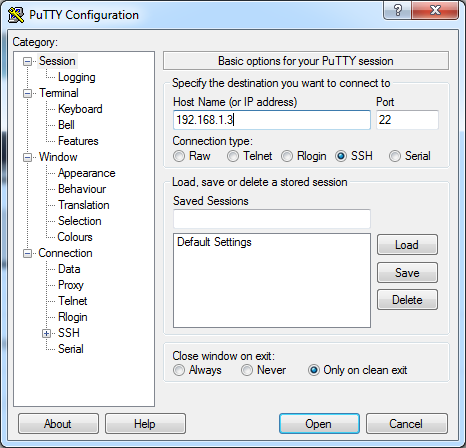
10. After open putty select SSH and Write Ip Address.then Open
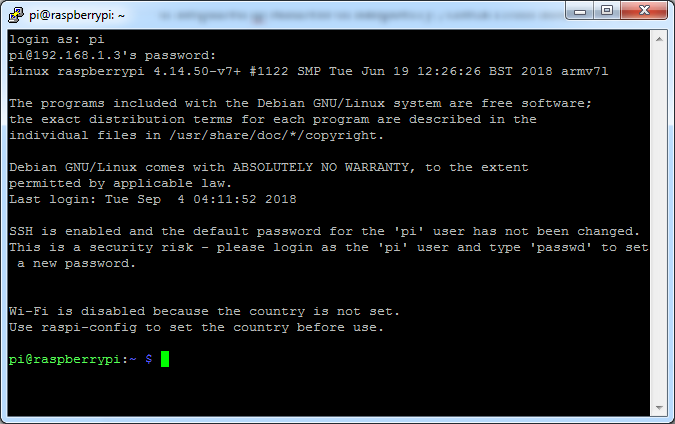
Login as : Pi , password is : raspberry
Now Its Ready .